
In this section
Create your first automation
Make something happen every time a webhook arrives. Choose when it runs, where it sends, and what it sends, test it against a real request, and save it.
An automation runs when a request arrives at your URL and matches its conditions. It builds one HTTP request from the webhook and sends it to another HTTPS address: a chat channel, your own API, or any other service. You set it up in three parts, When, Send to and With this body, and test it before it goes live.
Before you start
- Capture a real request first. Send one event from the service to your URL. Building against a real request is much quicker than guessing field names, and Send test needs one.
- Have the destination to hand: a Slack or Discord webhook URL, a bot token, or your API's address and any key it needs.
- Limits: a free URL can have 3 automations and make 1,000 deliveries a day. A URL with a Pro pass can have 10 and make 10,000 a day.
Set it up
- In the request list, select the request you captured.
- Click Automations in the toolbar.
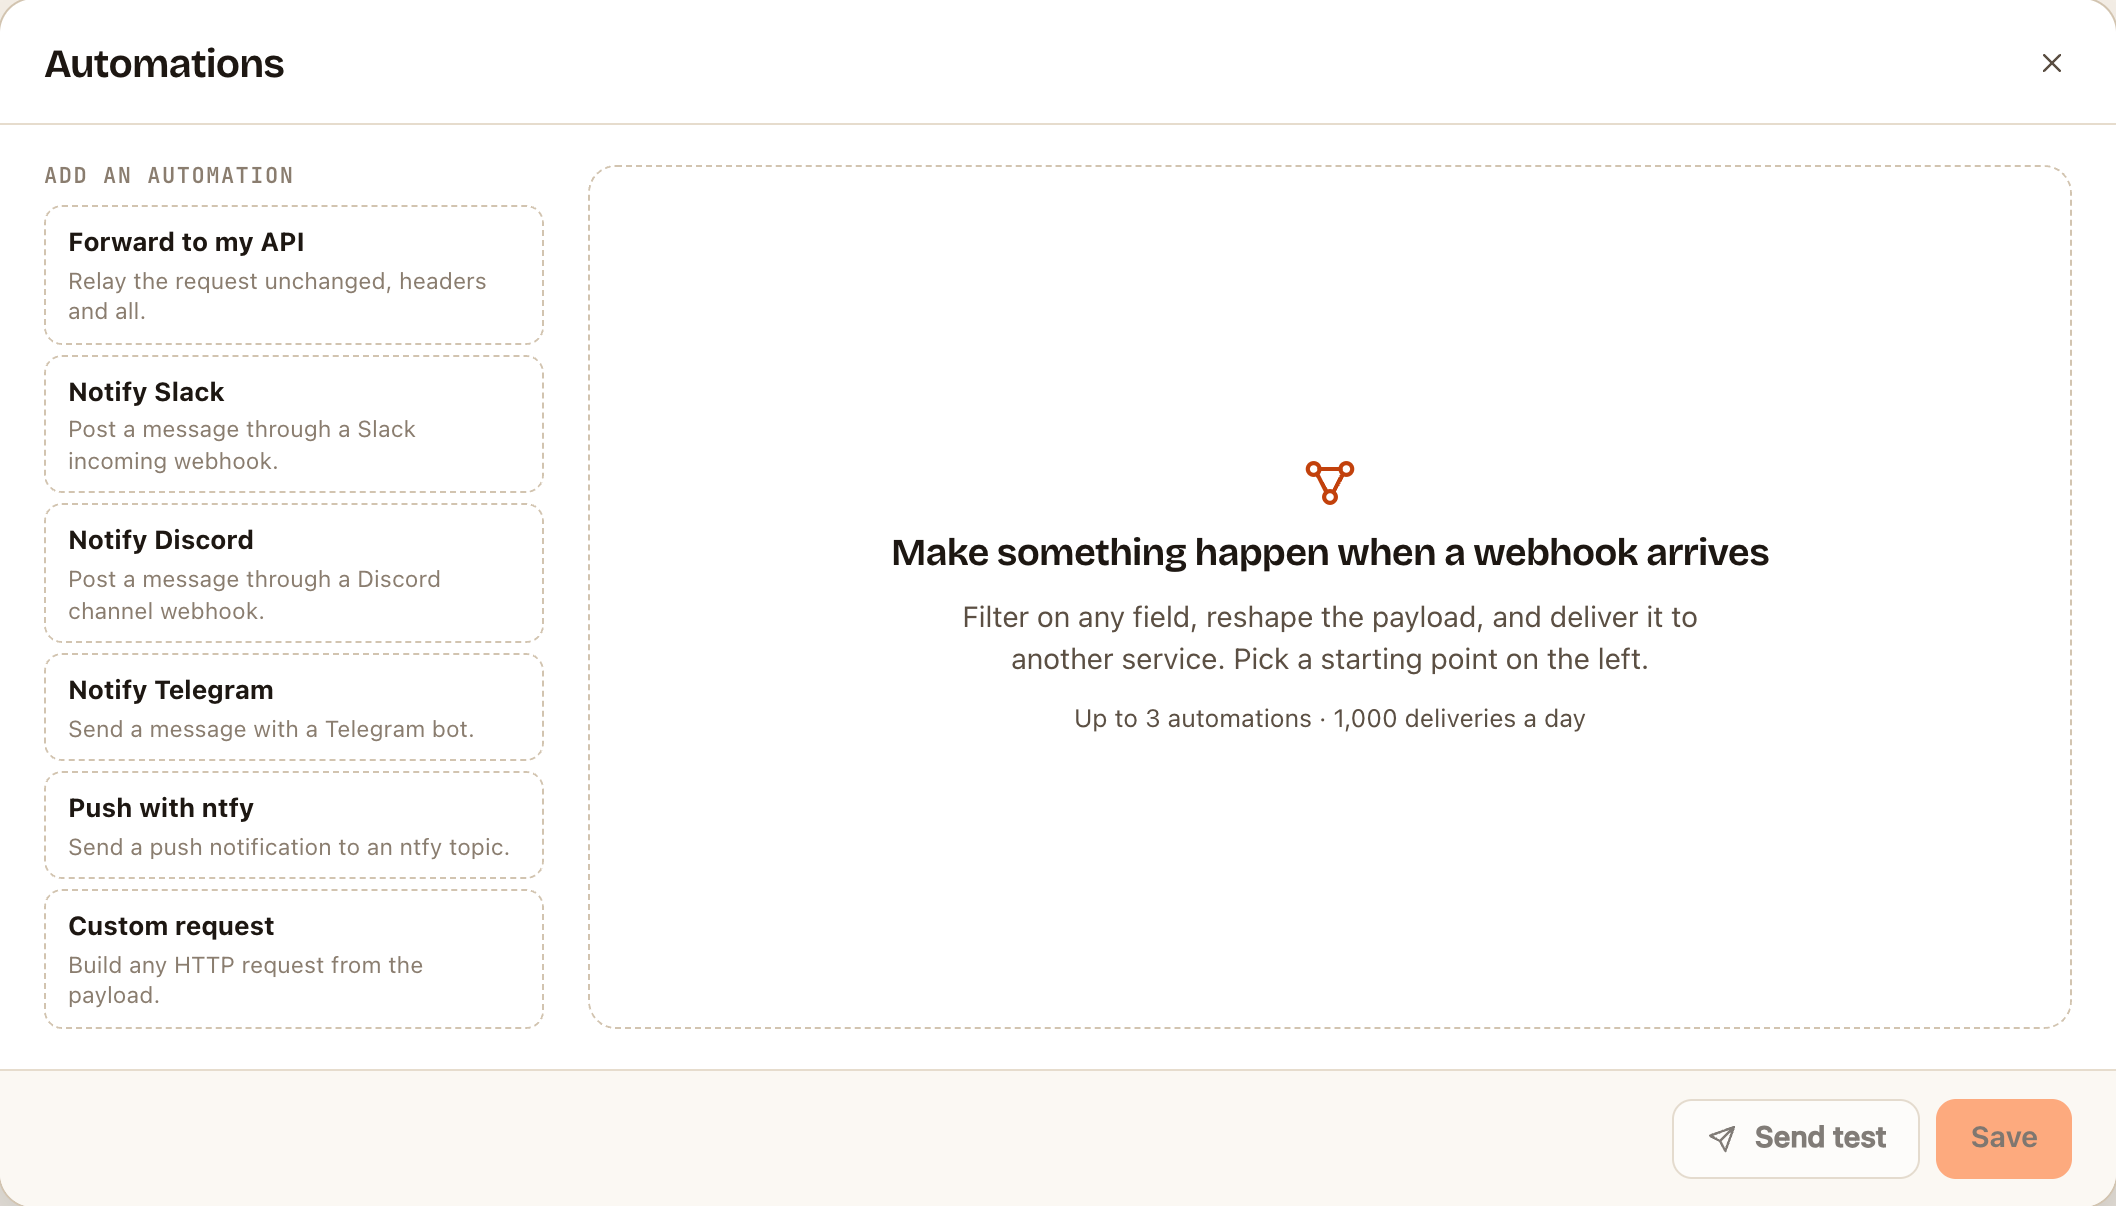
- Under Add an automation, choose a starting point:
| Starting point | Does |
|---|---|
| Forward to my API | Relays the request unchanged, headers and all |
| Notify Slack | Posts a message through a Slack incoming webhook |
| Notify Discord | Posts a message through a Discord channel webhook |
| Notify Telegram | Sends a message with a Telegram bot |
| Push with ntfy | Sends a push notification to an ntfy topic |
| Custom request | Any request you design yourself |
- Give it a Name you'll recognise later.
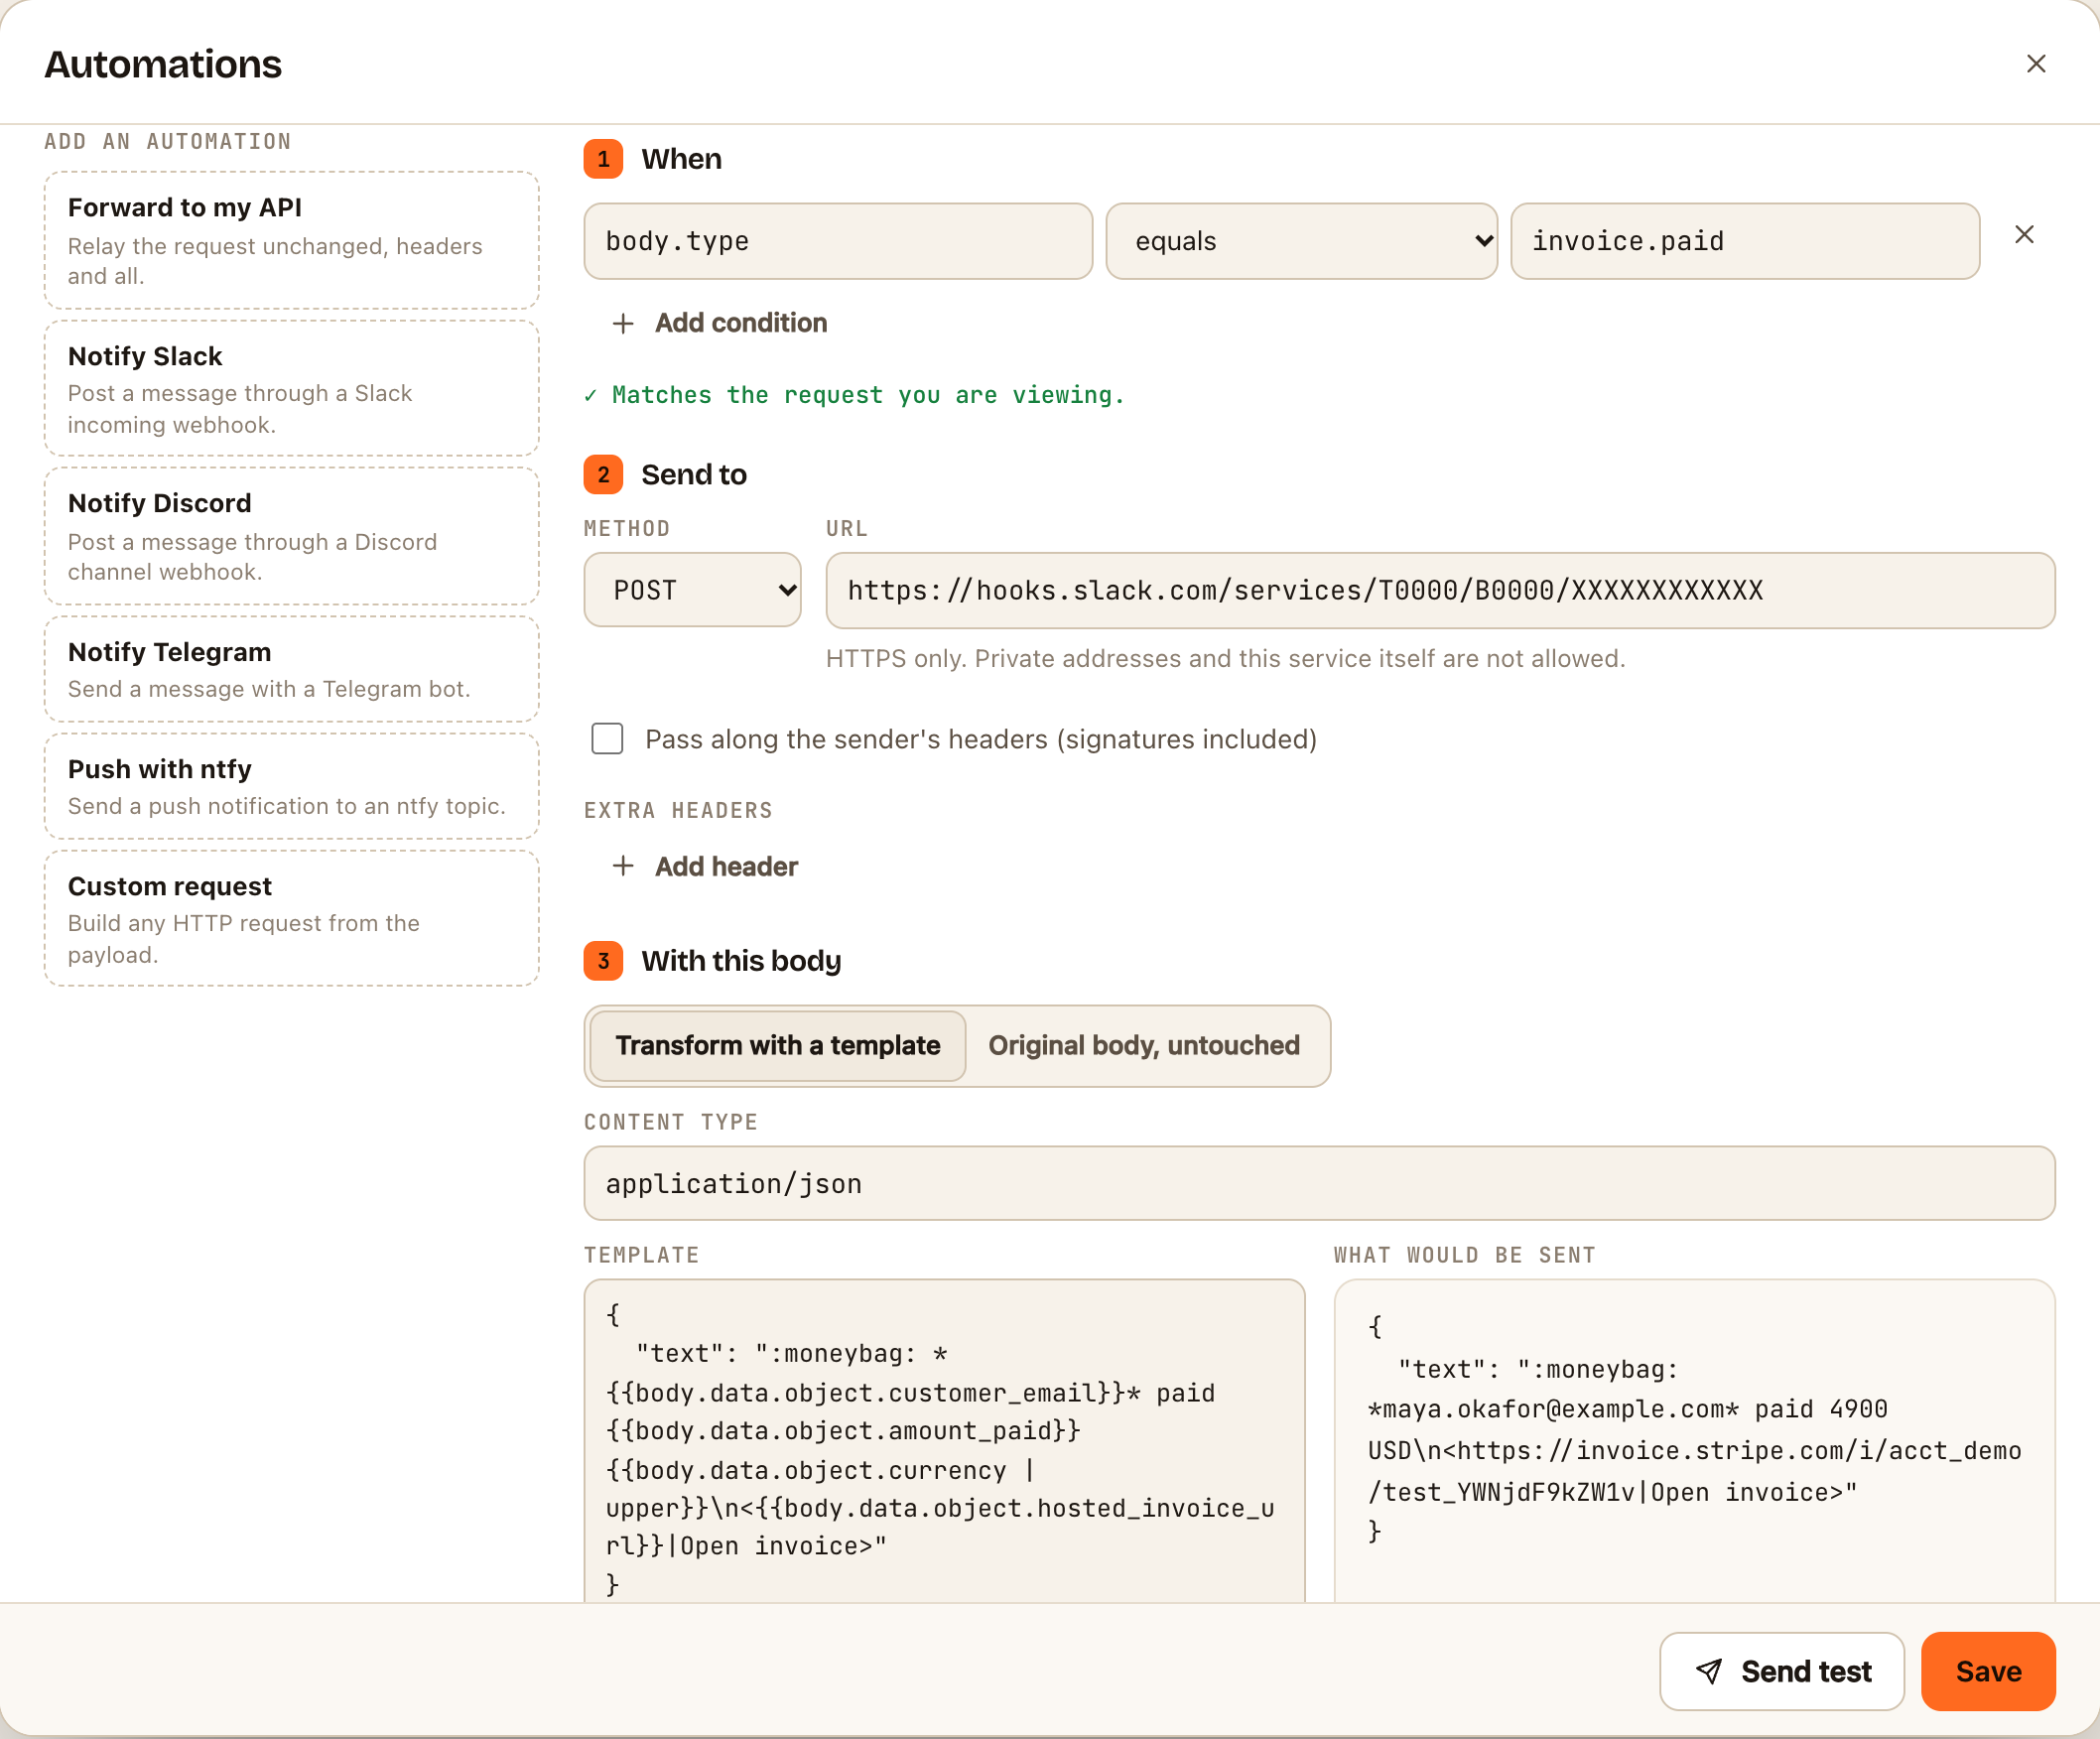
- Under 1 When, click Add condition for each rule the request must meet, such as
body.typeequalsinvoice.paid. With no conditions, it runs for every request. See Choose when an automation runs. - Under 2 Send to, set the Method and paste the destination URL. Add any Extra headers it needs, such as
Authorization. - Under 3 With this body, choose either:
- Transform with a template, then write the body under Template. What would be sent shows the result for the selected request as you type. See Write a template.
- Original body, untouched, to relay the bytes exactly as they arrived.
- Click Send test. It saves your changes and sends the selected request to the destination once, ignoring the conditions.
- Read the result next to the button: Delivered: 200 in 84 ms. or the reason it failed.
- When it looks right, click Save.
Check it worked
- Under 1 When, the line below the conditions says ✓ Matches the request you are viewing or ✕ Does not match. Select different requests in the list to check the conditions pick out the right ones.
- Send another event from the service. Open the new request and click Deliveries: the automation is listed with its status code and timing. See Check what an automation sent.
- The number on the Automations button shows how many are switched on.
Turn one off, or remove it
- To pause an automation, open it, switch off Enabled, and click Save.
- To delete it, open it, click Remove, and click Save.
Things worth knowing
- Deliveries aren't retried. If the destination is down, that delivery is logged as failed and not sent again. After 15 failures in a row, the automation pauses itself. See Automation deliveries are failing.
- The service that sent the webhook isn't kept waiting. Your URL answers it straight away. Automations run afterwards.
- Send sample triggers automations too, so it's an easy way to try one end to end.
- Destinations must be public HTTPS addresses. To reach a server on your own machine, use Forward webhooks to localhost.